AskOmics tutorials
User account
Account creation
To use AskOmics, you will need an account. Go to the sign-up page by clicking on the login icon.

Then, click on the “sign up” link:
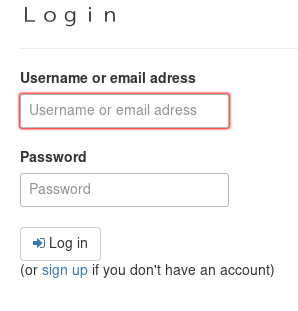
Fill the form with the requested information.
Account management
To manage your account, use the account management icon.

Update information
This section allows you to change your email address and your password.
API key
Your API key allows third-party applications (like Galaxy) to access AskOmics programmatically without revealing your personal password.
When updating your API key, old ones will no longer work.
Galaxy account
Link a Galaxy account to load Galaxy datasets into AskOmics.
Account deletion
The account deletion is permanent, all your information, as well as all your data will be deleted. There is no way back.
Use case 1: Gene expression
All files needed for the tutorial are available here
3 files are provided:
- gene.tsv: Genes locations on a genome
- orthogroup.tsv: Groups of ortholog genes
- differential_expression.tsv: Results of differential expression analysis
Files organization
AskOmics takes as inputs CSV (Comma-Separated Values) files. But these files have to respect a certain structure.
A CSV file describes an entity. The entity name is the header of the first column of the CSV file (e.g. the entity name of the file gene.tsv is Gene).
Other column headers describe the entity attributes and relations:
- An attribute is a simple column in the CSV file. For example, Gene have 5 attributes: organism, chromosome, strand, start and end.
- A relation allows to create a link between an entity and another one. It is described by a header like relation_name@entity. On the
orthogroup.tsvfile, Orthogroup entity have a concerns relation. This relation targets the Gene entity.
Uploading files
The first step is to upload your CSV files into AskOmics. Click on the upload icon to go to the upload page.

On the upload page, use the Upload button, and add the 3 files into the upload queue. Then, start uploading the files.
The CSV files are now uploaded on AskOmics.
Integrating files
On the upload page, select the Gene file to integrate, and click to the Integrate button. AskOmics shows an overview of the file.
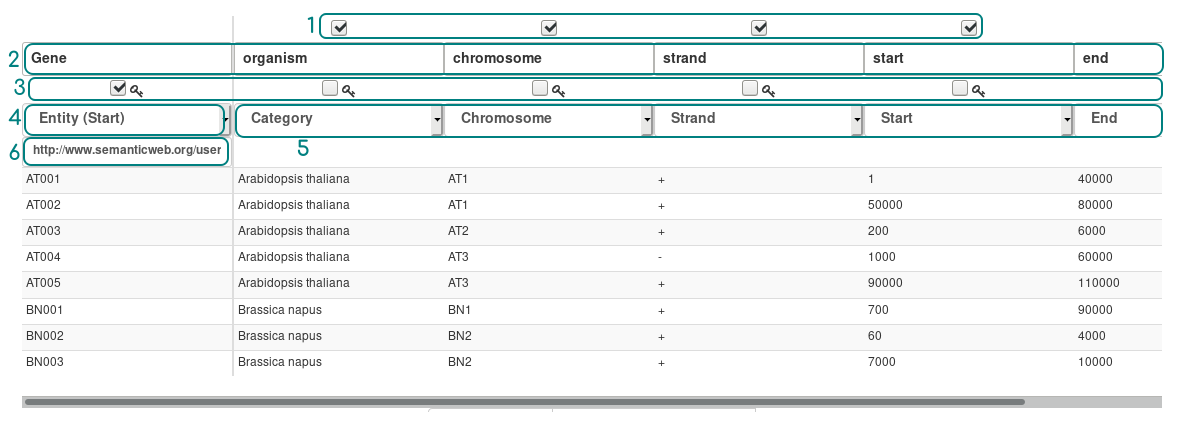
- Columns disabler: uncheck columns to ignore them (their content will not be loaded at all)
- Header updater: optionally update entity or attribute names
- Key columns: check several columns to create a new one by concatenate the columns checked
- Entity type: choose between simple
entityorentity start(default). Anentity startwill be displayed on the startpoint page. - Attributes types: select the attributes types (see below)
- Custom URI: update the attributes URI (advanced feature)
Attributes can be one of the following types:
- Attributes
- Numeric
- Text
- Category
- Date/time
- Positionable attributes
- Taxon
- Chromosome
- Strand
- Start
- End
- Relation
- General relation to entity
- Symmetric relation to entity
Types are automatically detected by AskOmics, but you can override them if needed. Depending on the type you choose, different options will be available in the query builder.
You can then integrate the 2 remaining files.
Interrogating datasets
Once you have integrated all the datasets, it’s time to query them.
Click on the Ask icon

The page show you the starting points of you query. Select The Gene entity and start a query.
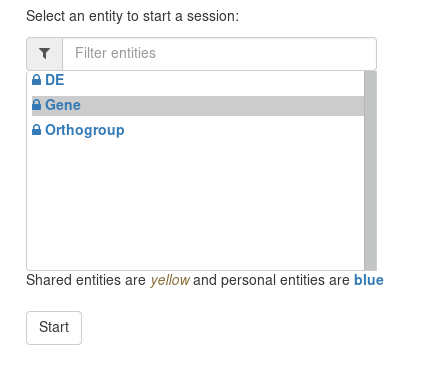
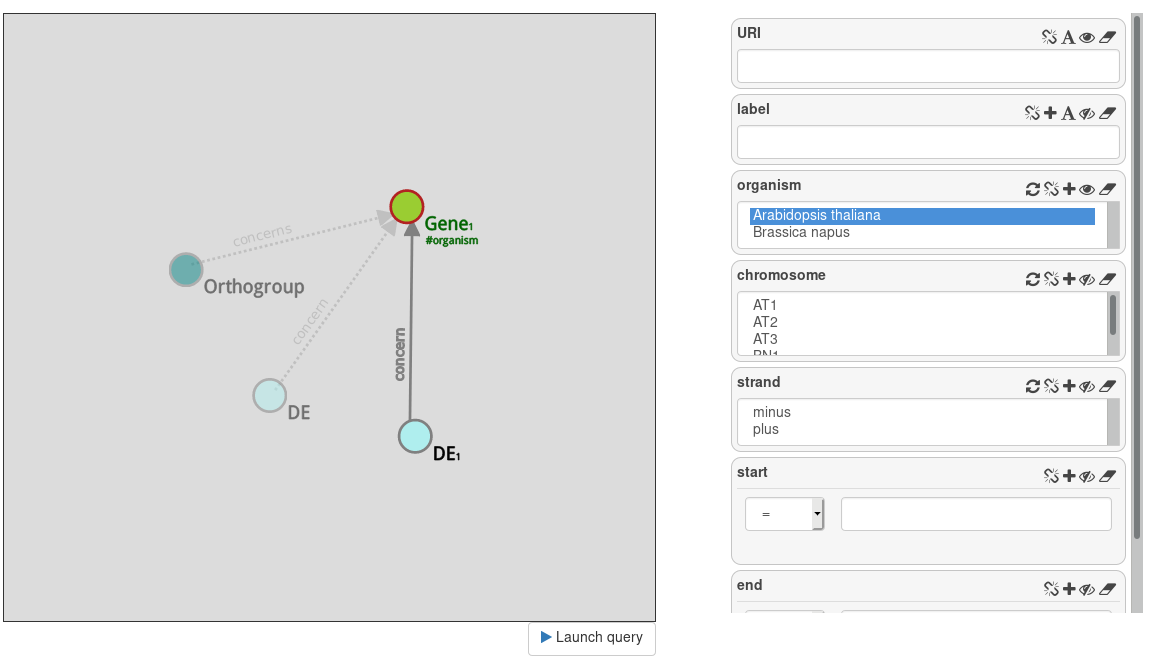
The query builder is composed of two panels: the left panel, representing entities and their relations, and the right panel, representing attributes of the selected entity.
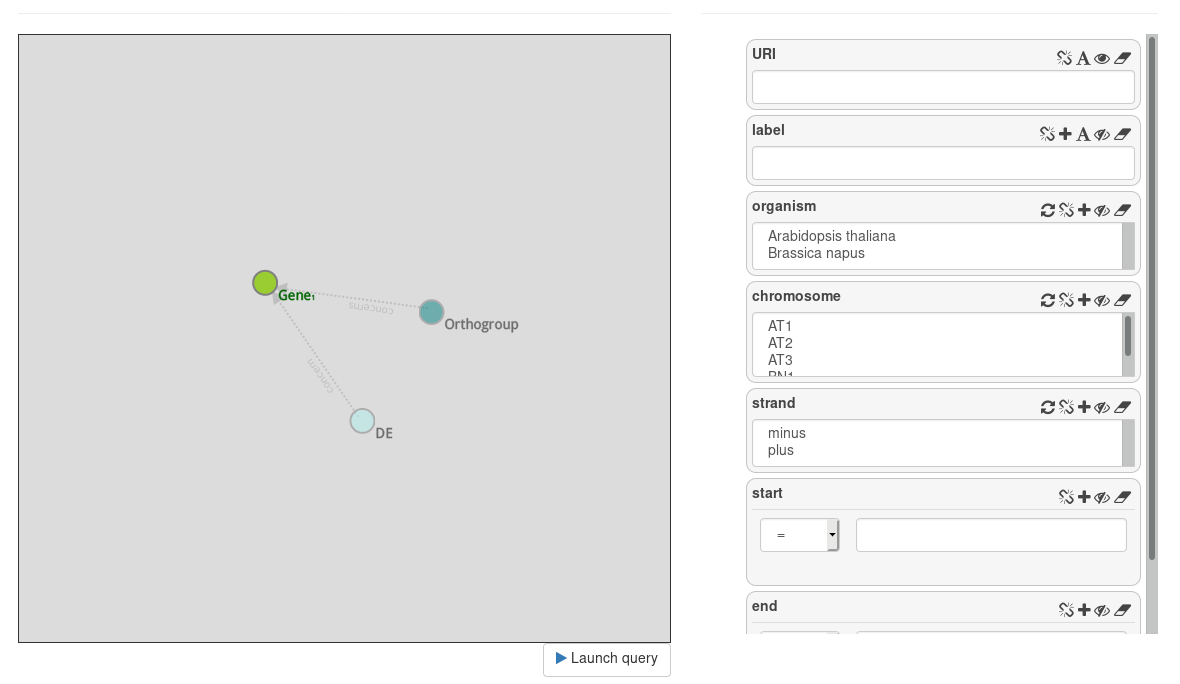
On the left panel, the Gene entity is selected. We see two transparent node: Orthogroup and DE. These two nodes are proposed, but not instantiated.
On the right panel, attributes of Gene are displayed on attributes cells.
Simple query
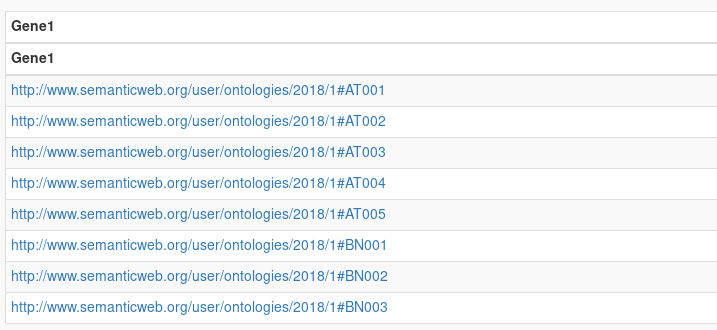
Click on the Launch query button to perform a query. It leads to the job page, query section. Click on the query to display a preview of the results.
Results show all the gene URI present on the triplestore.
Display attributes
Return to the query builder (Ask tab). Now, we want to display some attributes of the genes.
On the right view, all attributes have button. Click on the eye button to display attributes.
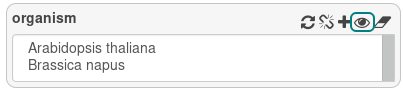
The eye has 3 states:
- closed eye: the attribute won’t appear in the results
- open eye: the attribute will appear in the results
- question mark: show the attribute, even if there is no value
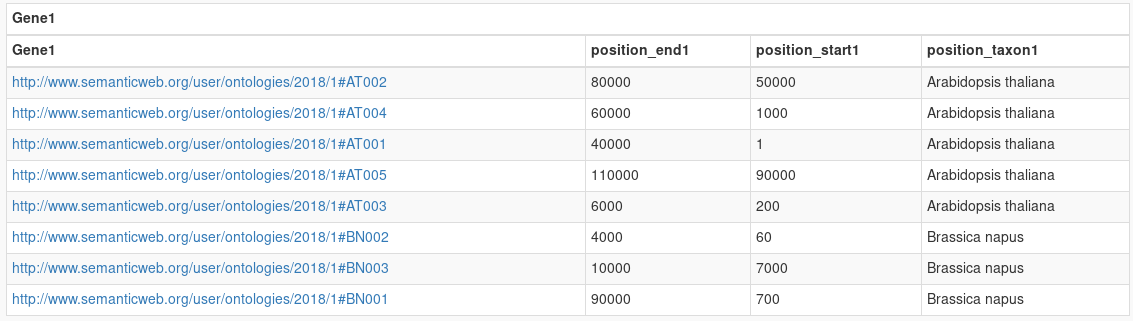
Show the organism, start and end and launch the query.
Results show all the genes with their organism, start and end.
Filter on attributes
Attributes can be filtered in different ways depending on their type (numeric, categorical or text).
Text
Go back to the query builder. To filter on a text attributes, enter some test in the field.

Here, we ask for all entities that match exactly the string AT001. This query will return one result.
You can also use a regular expression filter by clicking on the A icon (this will change the icon into a funnel).

We ask for all genes whose label contains the AT string. This will return 5 results.
Numeric
Go back to the query builder and reset the label filter by clicking to the rubber icon.
Filter the start attribute to get all genes with a start position greater than 6000.
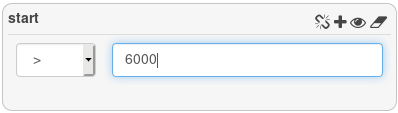
3 genes are returned.
Category
Attributes of type Category have a limited number of text value. Here, strand , chromosome and taxon are categories.
On the query builder, filter the organism to get all Arabidopsis thaliana gene.

5 genes are returned.
#### Other filtering features
Some other filtering functionalities are common to all the attributes:
- Negation: the + icon (e.g. if you want to find attributes with a value different to the one you entered)
- Cancel filter: use the rubber icon to reset the attribute filtering
- Link: the chain link link an attributes to the same attributes on another node
Link data
Back on the query builder, we will now cross Gene with DE and Orthogroup
Start to design a new query from scratch by clicking on the Reset button.
Start a new query with DE. This datasets contain results of gene differential expression analysis. Display Dpi (day post infection) and trend by clicking the eye on the attributes cells.
Then, instantiate the Gene node by clicking on it. Display organism and filter only the Arabidopsis thaliana genes.
This query gives you all differential expression measures that concern Arabisopsis thaliana species.
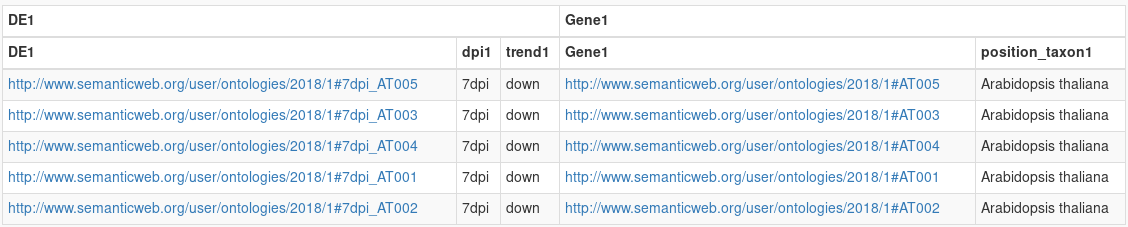
Go back to the DE node and filter attributes to get only genes that are overexpressed at day 7.
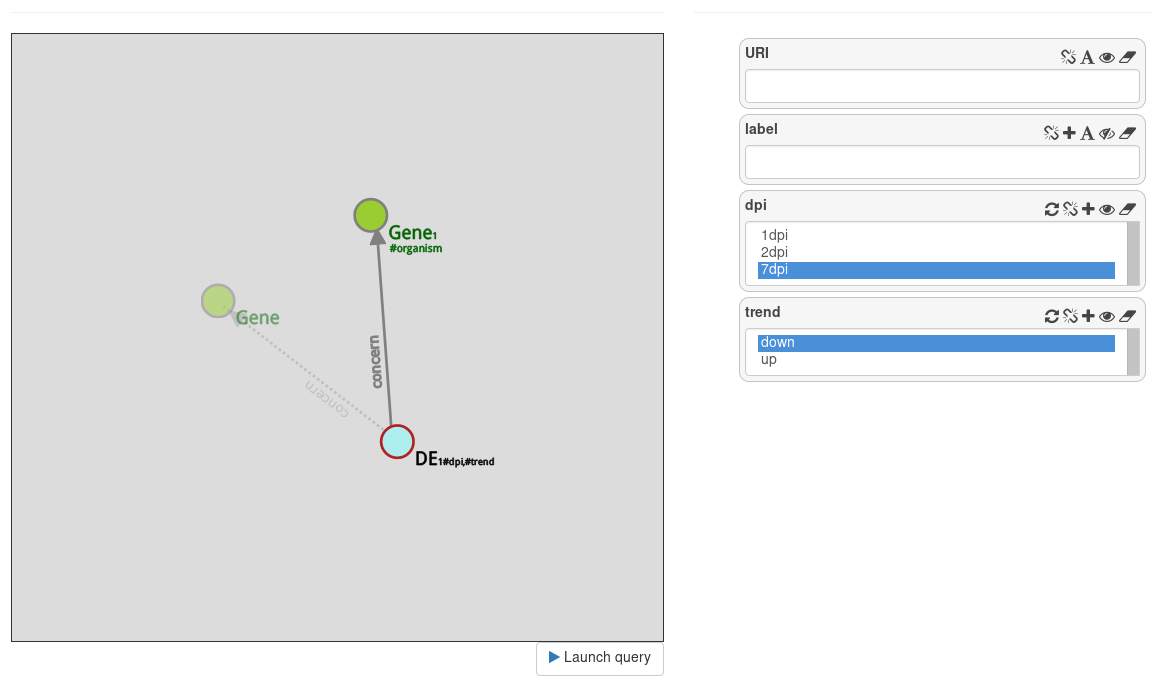
This query returns 5 results.
Now, we want genes of Brassica napus that are ortholog to the Arabidopsis thaliana genes that are overexpressed at day 7.
Instanciate a Orthogroup node from the Gene. From this Orthogroup node, instanciate another Gene node, and filter it with Brassica napus.
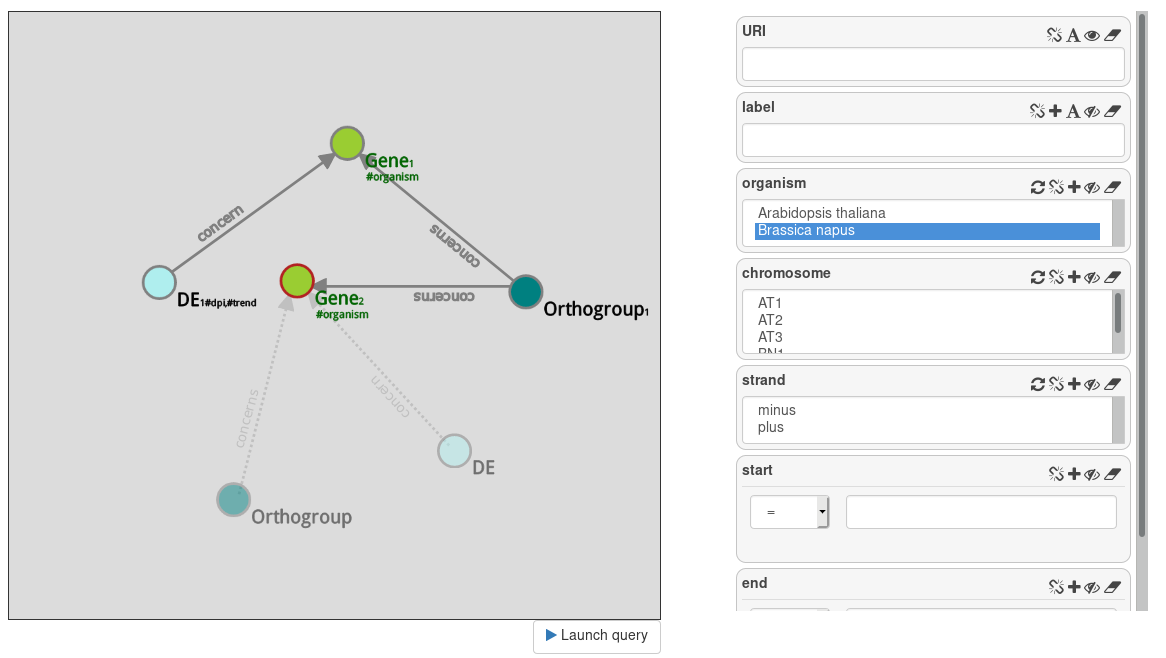
We have 2 genes returned

Well done, you have completed the AskOmics tutorial! Now try with your own data.
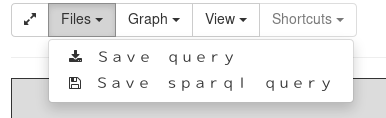
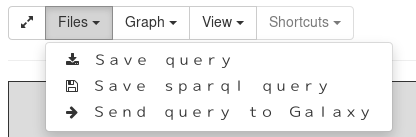
Saving a query state
When you are proud of one of your query, you can save it for future reuse. On the query builder page, use the Files > Save Query to save the query state into your computer. This file represents the state of the query.
Later, on the ask page, you can upload this query file to work on your query again.
Download the results
The job page only shows you a preview of the results. To download the full results, click on Save to download the complete CSV file.
Use AskOmics with Galaxy
Galaxy is an open source, web-based platform for data intensive biomedical research. You can integrate Galaxy datasets into AskOmics by linking a Galaxy account into AskOmics.
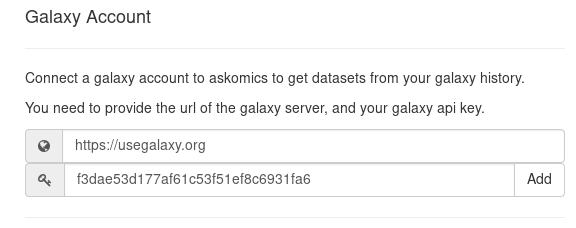
Link Galaxy account into AskOmics
In you galaxy account, copy your Galaxy API key (User > Preferences > Manage API key).
Back in AskOmics, go to Account Management and add the Galaxy server URL and Galaxy API key
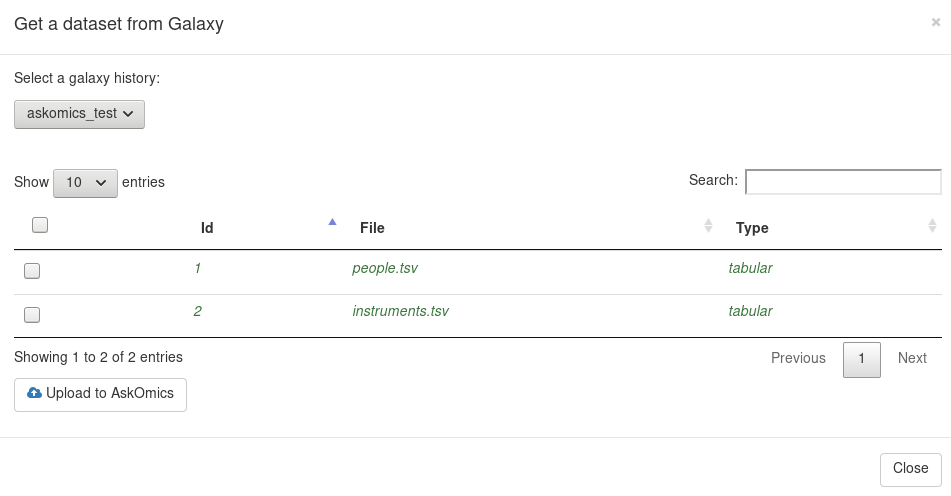
Upload a Galaxy datasets into AskOmics
On the upload page, you can now upload a Galaxy datasets with the button Get from Galaxy.
Save a query into Galaxy history
On the query builder page, you can save a query state into a galaxy history. You can also start a query with a saved state from galaxy on the ask page.
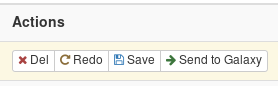
Save query results into Galaxy history
Result can be sent into galaxy on the job page. Use the Send to Galaxy button.